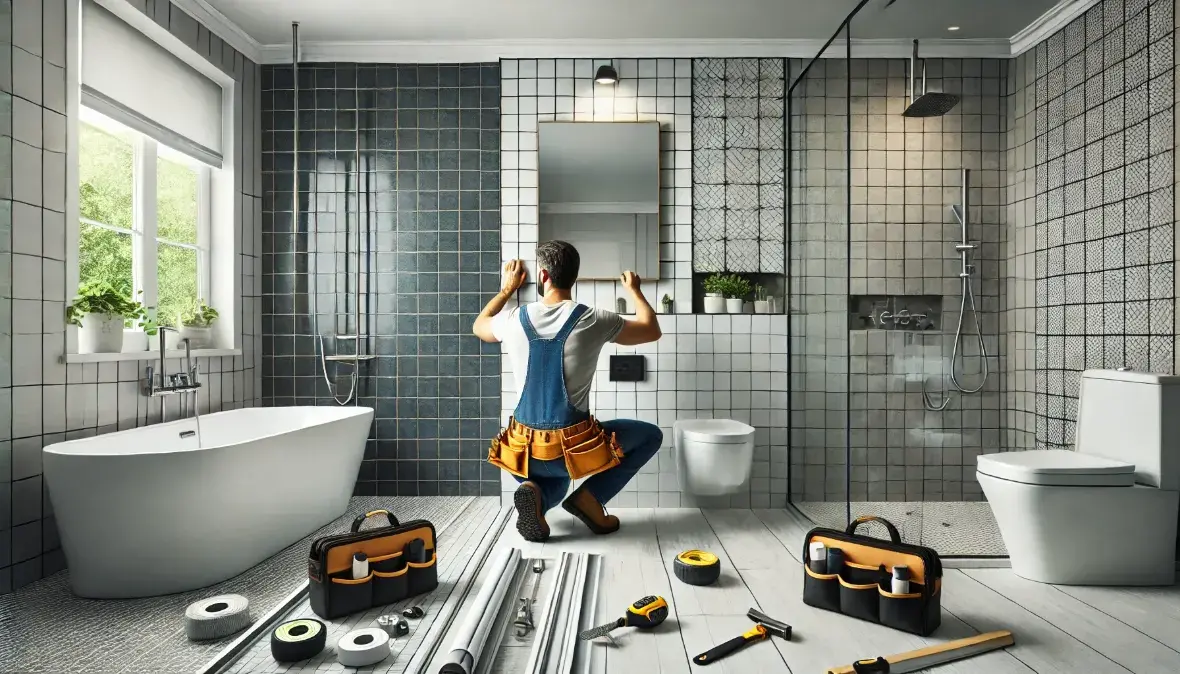
A bathroom renovation is one of the best investments you can make in your home. It not only enhances the aesthetic appeal of your space but also increases your property’s value. Whether you’re updating a small guest bathroom or transforming your master bath into a luxurious retreat, Tony The Handyman is here to help. We provide comprehensive handyman services to bring your vision to life. From plumbing and tile work to custom vanities and lighting installation, we handle every aspect of your bathroom renovation with precision and care.
If you’re looking for expert craftsmanship and a stress-free renovation process, we can do this for you! Contact us today at (437) 818-5979 for a free estimate.
Why Choose Tony The Handyman for Your Bathroom Renovation?
When it comes to comprehensive handyman services, you deserve a team that is experienced, reliable, and dedicated to delivering top-notch results. At Tony The Handyman, we take pride in turning ordinary bathrooms into extraordinary spaces that combine functionality with style.
Our Bathroom Renovation Services Include:
Custom Tile Work – Floor tiles, shower tiles, and backsplashes tailored to your design preferences.
Plumbing & Fixtures – Installation and upgrades of sinks, toilets, tubs, and more.
Lighting Installation – Modern and energy-efficient lighting solutions for a bright and elegant look.
Vanities & Cabinetry – Custom-built or pre-made options to maximize storage and aesthetics.
Flooring Upgrades – Waterproof, durable, and stylish flooring choices that enhance your bathroom’s appeal.
Painting & Finishing Touches – Professional painting services to give your space a polished look.
We understand that every homeowner has different needs and budgets. That’s why our comprehensive handyman services are completely customized to meet your specific requirements.
Transform Your Bathroom into a Luxurious Space
Your bathroom should be more than just a functional space—it should be a sanctuary where you can unwind and refresh. Whether you want a spa-like retreat, a sleek modern look, or a timeless classic design, our comprehensive handyman services will bring your dream bathroom to life.
Trending Bathroom Design Ideas:
Minimalist & Modern: Sleek lines, floating vanities, and neutral tones for a contemporary feel.
Rustic & Cozy: Wooden accents, warm lighting, and stone tiles to create a welcoming atmosphere.
Classic & Elegant: Freestanding tubs, vintage fixtures, and marble countertops for a sophisticated look.
Smart & High-Tech: Motion-sensor faucets, LED mirrors, and heated flooring for added convenience.
With so many options available, designing your ideal bathroom can feel overwhelming. But don’t worry—we can do this for you! Our expert team will guide you through the entire process, helping you choose the perfect layout, colors, and materials.
Ready to get started? Call us at (437) 818-5979 today for a free estimate!
The Benefits of a Professional Bathroom Renovation
A bathroom renovation is a big investment, but the benefits far outweigh the costs. By hiring experts for the job, you ensure that everything is done correctly and efficiently. With our comprehensive handyman services, you can enjoy a beautifully upgraded space without the stress.
Why Invest in a Bathroom Renovation?
Increase Home Value – A newly renovated bathroom can significantly boost your property’s resale value.
Improve Energy Efficiency – Upgrade to water-saving fixtures and LED lighting to lower your utility bills.
Enhance Functionality – Make the most of your space with smart storage solutions and modern features.
Create a Relaxing Atmosphere – Transform your outdated bathroom into a stylish and comfortable oasis.
At Tony The Handyman, we take care of every detail, ensuring a smooth and seamless renovation experience. From start to finish, we’ll handle everything—so you don’t have to!
Affordable and High-Quality Bathroom Renovations
We believe that a high-quality renovation shouldn’t come with an outrageous price tag. That’s why we offer comprehensive handyman services that fit a variety of budgets without compromising on quality.
How We Keep Costs Affordable:
Transparent Pricing – No hidden fees or unexpected costs!
Expert Recommendations – We help you choose cost-effective materials that look great and last long.
Efficient Project Management – We work quickly and efficiently to complete your project on time and within budget.
Our goal is to deliver outstanding results at a price you can afford. No matter the size or scope of your bathroom renovation, we’ll work with you to create a space that matches your vision.
Let’s get started! Contact us today for a free consultation and estimate.
Why Clients Trust Tony The Handyman
We are committed to delivering comprehensive handyman services that exceed our clients’ expectations. But don’t just take our word for it—see why homeowners continue to choose Tony The Handyman for their bathroom renovations.
What Sets Us Apart?
Experienced Professionals – Our skilled team has years of hands-on experience in home renovations.
Customer-Centered Approach – We listen to your needs and work closely with you to achieve your dream bathroom.
Top-Quality Craftsmanship – We use only the best materials and proven techniques to ensure long-lasting results.
Timely Completion – We respect your schedule and complete projects on time.
Satisfaction Guaranteed – We stand behind our work and won’t stop until you’re 100% happy with the final result.
Choosing the right contractor can be tough, but with Tony The Handyman, you’re in good hands.
Our Bathroom Renovation Process – What to Expect
We understand that home renovations can feel overwhelming. That’s why we’ve streamlined our process to make it as smooth and stress-free as possible. When you choose our comprehensive handyman services, here’s what you can expect:
Step 1: Free Consultation & Estimate
We assess your space, discuss your vision, and provide a detailed, no-obligation quote.
Step 2: Design & Planning
We help you select materials, fixtures, and finishes that align with your style and budget.
Step 3: Demolition & Preparation
We carefully remove old tiles, fixtures, and outdated elements while minimizing disruption to your home.
Step 4: Installation & Renovation
Our skilled team installs new plumbing, tiles, cabinetry, and other features with precision.
Step 5: Final Touches & Cleanup
We add the finishing details, conduct a final inspection, and leave your space spotless.
From start to finish, we’ll handle everything so you don’t have to! We can do this for you—get in touch today for a free estimate!
Get Started with Tony The Handyman Today!
Your dream bathroom is just a phone call away! With our comprehensive handyman services, we’ll take care of every detail and create a space you’ll love for years to come.
📞 Call us today at (437) 818-5979 for a FREE estimate and let’s get started!
Expert craftsmanship
Affordable pricing
On-time completion
Tony The Handyman – Your Trusted Partner in Bathroom Renovations!
Need other home improvement services? We offer kitchen renovations, flooring installations, painting, and much more. Contact us today to learn more about our comprehensive handyman services!

